


L-01Fをroot化
LinuxマシンでL-01Fをroot化してみます。
準備するもの
こちらから以下のファイルをダウンロードします。
g2_support_tool V1.6
l01f-KK-KBC-CWM-v6.0.4.8_r1.img
作成者の方どうもありがとうございます。
ダウンロードしてhome/hoge以下に展開しておきます。
l01f-KK-KBC-CWM-v6.0.4.8_r1.imgをg2_support_tool-1.6/files/recoveryに
コピーしておきます。
LinuxマシンとL-01FをUSBデバックケーブルで接続。
ターミナルを立ちあげて、android-sdkにパスを通します。
$ PATH=$PATH:/home/hoge/android-sdk/platform-tools
確認
$ adb devices
List of devices attached
019f205251159491 device
temprootファイルを送り込み実行権を与えます。
$ cd /home/hoge/g2_support_tool-1.6/files
~/g2_support_tool-1.6/files $ adb push tmproot /data/local/tmp/
~/g2_support_tool-1.6/files $ adb shell
shell@android:/ $ chmod 755 /data/local/tmp/unlock_security_module
shell@android:/ $ chmod 755 /data/local/tmp/run_root_shell
shell@android:/ $ chmod 755 /data/local/tmp/run_root.sh
shell@android:/ $ chmod 755 /data/local/tmp/get_essential_address
shell@android:/ $ chmod 755 /data/local/tmp/busybox_file
shell@android:/ $ exit
バックアップスクリプトを送り込み実行権を与えます。
~/g2_support_tool-1.6/files $ adb push backup /data/local/tmp/
~/g2_support_tool-1.6/files $ adb shell chmod 755 /data/local/tmp/backup.sh
バックアップスクリプトを実行して端末のバックアップを取ります。
~/g2_support_tool-1.6/files $ adb shell
shell@android:/ $ /data/local/tmp/run_root.sh /data/local/tmp/backup.sh
サイズが大きいので10分程度かかります。
出来上がったバックアップをPCに保存します。
~/g2_support_tool-1.6/files $ adb pull /sdcard/backup/ /home/hoge/L-01F
4GB程度あるので移動させるのに10分程度かかりますよ(笑)
バックアップが終わったらCWMをインストールします。
CWMファイルを送り込み実行権を与えます
~/g2_support_tool-1.6/files $ adb shell mkdir -p /data/local/tmp/recovery
~/g2_support_tool-1.6/files $ adb shell mkdir -p /data/local/tmp/loki
~/g2_support_tool-1.6/files $ adb push recovery /data/local/tmp/recovery
~/g2_support_tool-1.6/files $ adb push loki /data/local/tmp/loki
~/g2_support_tool-1.6/files $ adb shell chmod 755 /data/local/tmp/loki/loki.sh
~/g2_support_tool-1.6/files $ adb shell chmod 755 /data/local/tmp/loki/loki_tool
実行します
~/g2_support_tool-1.6/files $ adb shell /data/local/tmp/run_root.sh /data/local/tmp/loki/loki.sh
[+] Loki flashing complete! と表示されると終了です。
最後にroot化
su関連ファイルを送り込み実行権を与えます
~/g2_support_tool-1.6/files $ adb shell mkdir -p /data/local/tmp/SuperSu
~/g2_support_tool-1.6/files $ adb push SuperSu /data/local/tmp/SuperSu
~/g2_support_tool-1.6/files $ adb shell chmod 755 /data/local/tmp/SuperSu/install_su.sh
~/g2_support_tool-1.6/files $ adb shell chmod 755 /data/local/tmp/SuperSu/install-busybox.sh
~/g2_support_tool-1.6/files $ adb shell /data/local/tmp/run_root_shell -c "chmod 6755 /data/local/tmp/SuperSu"
~/g2_support_tool-1.6/files $ adb shell /data/local/tmp/run_root.sh /data/local/tmp/SuperSu/install_su.sh
~/g2_support_tool-1.6/files $ adb shell /data/local/tmp/run_root_shell -c "reboot recovery"
再起動後にsupersuをインストール
$ cd /home/hoge/g2_support_tool-1.6/files/SuperSu_forHost
~/g2_support_tool-1.6/files/SuperSu_forHost $ adb install eu.chainfire.supersu-193.apk
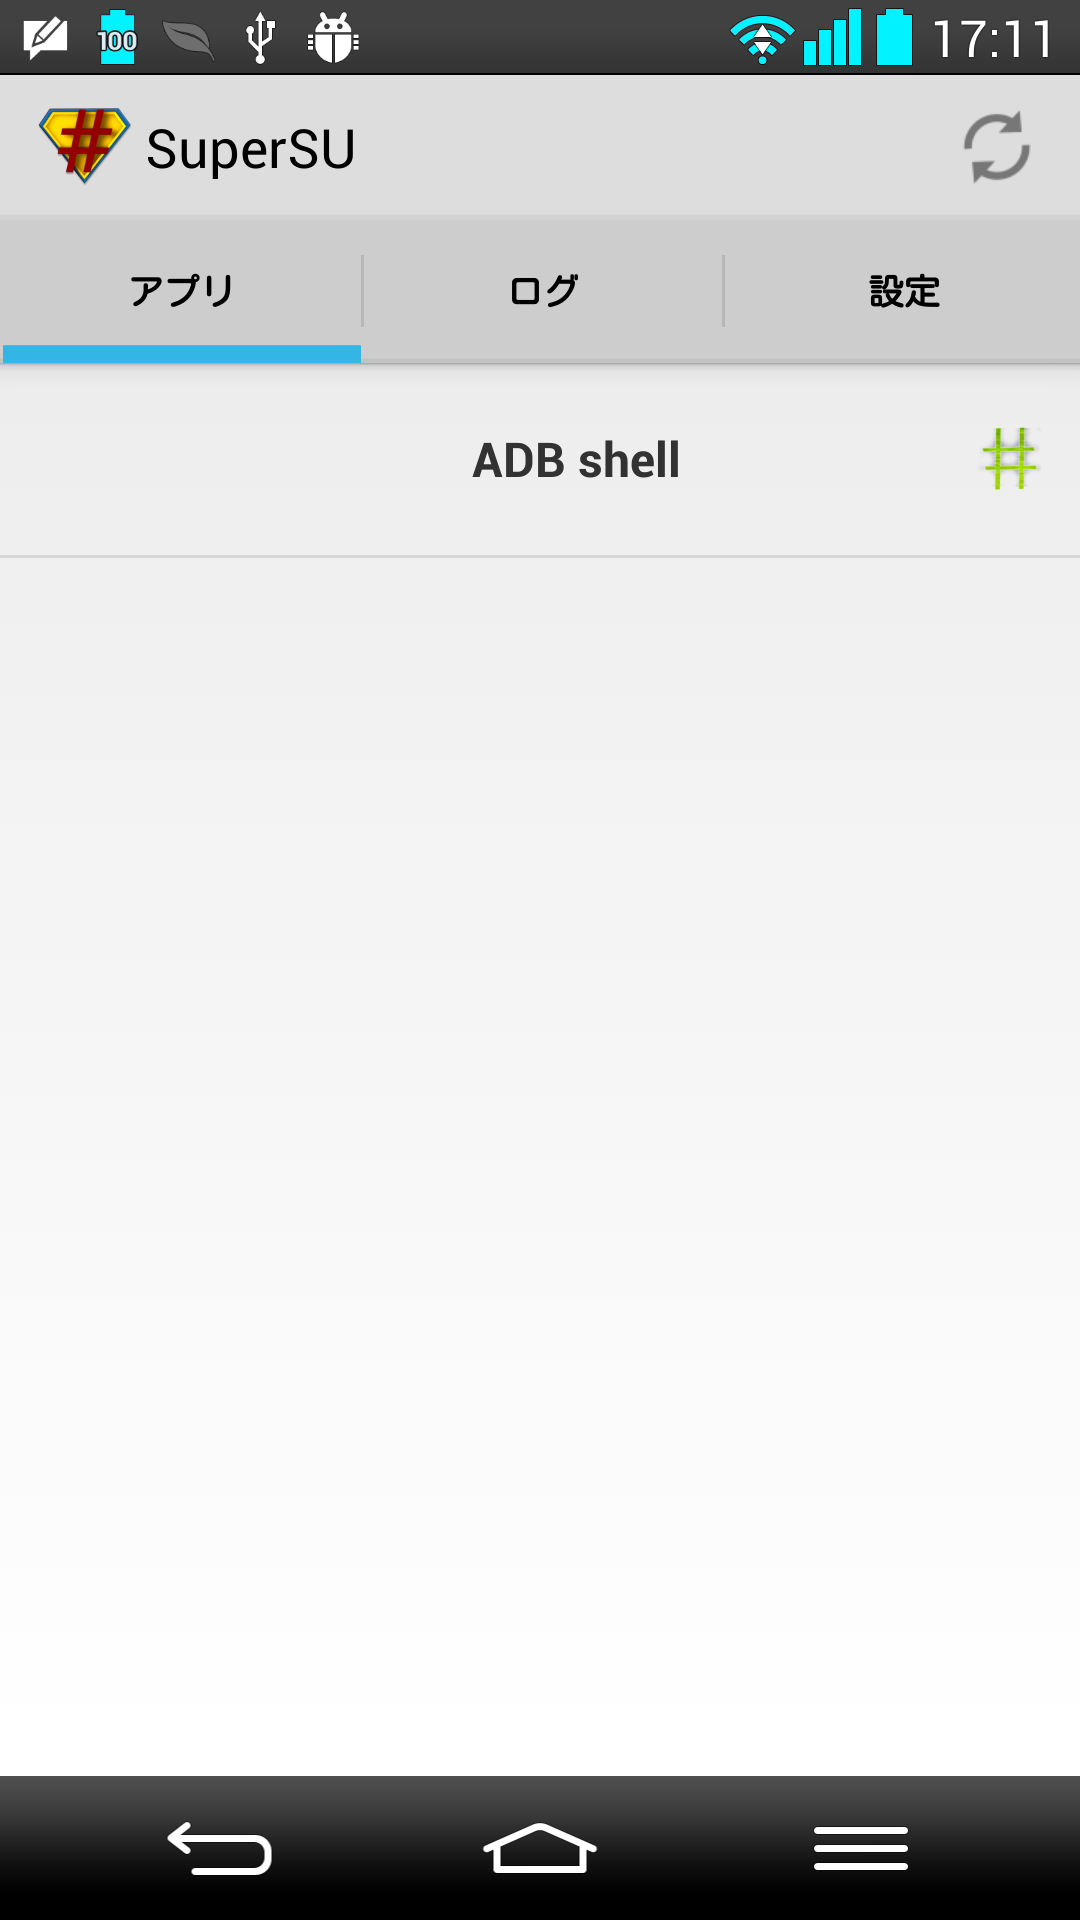
以上でroot化完了です。
$ adb shell
shell@android:/ $ su -
root@android:/ #
最後にファイルマネージャー等で/data/local/tmp以下のファイルを削除しておきます。
コメントをどうぞ