前回はlollipop用のカーネルをビルドしたので
今更ではあるが今回はリカバリをソースからビルドしてみた。
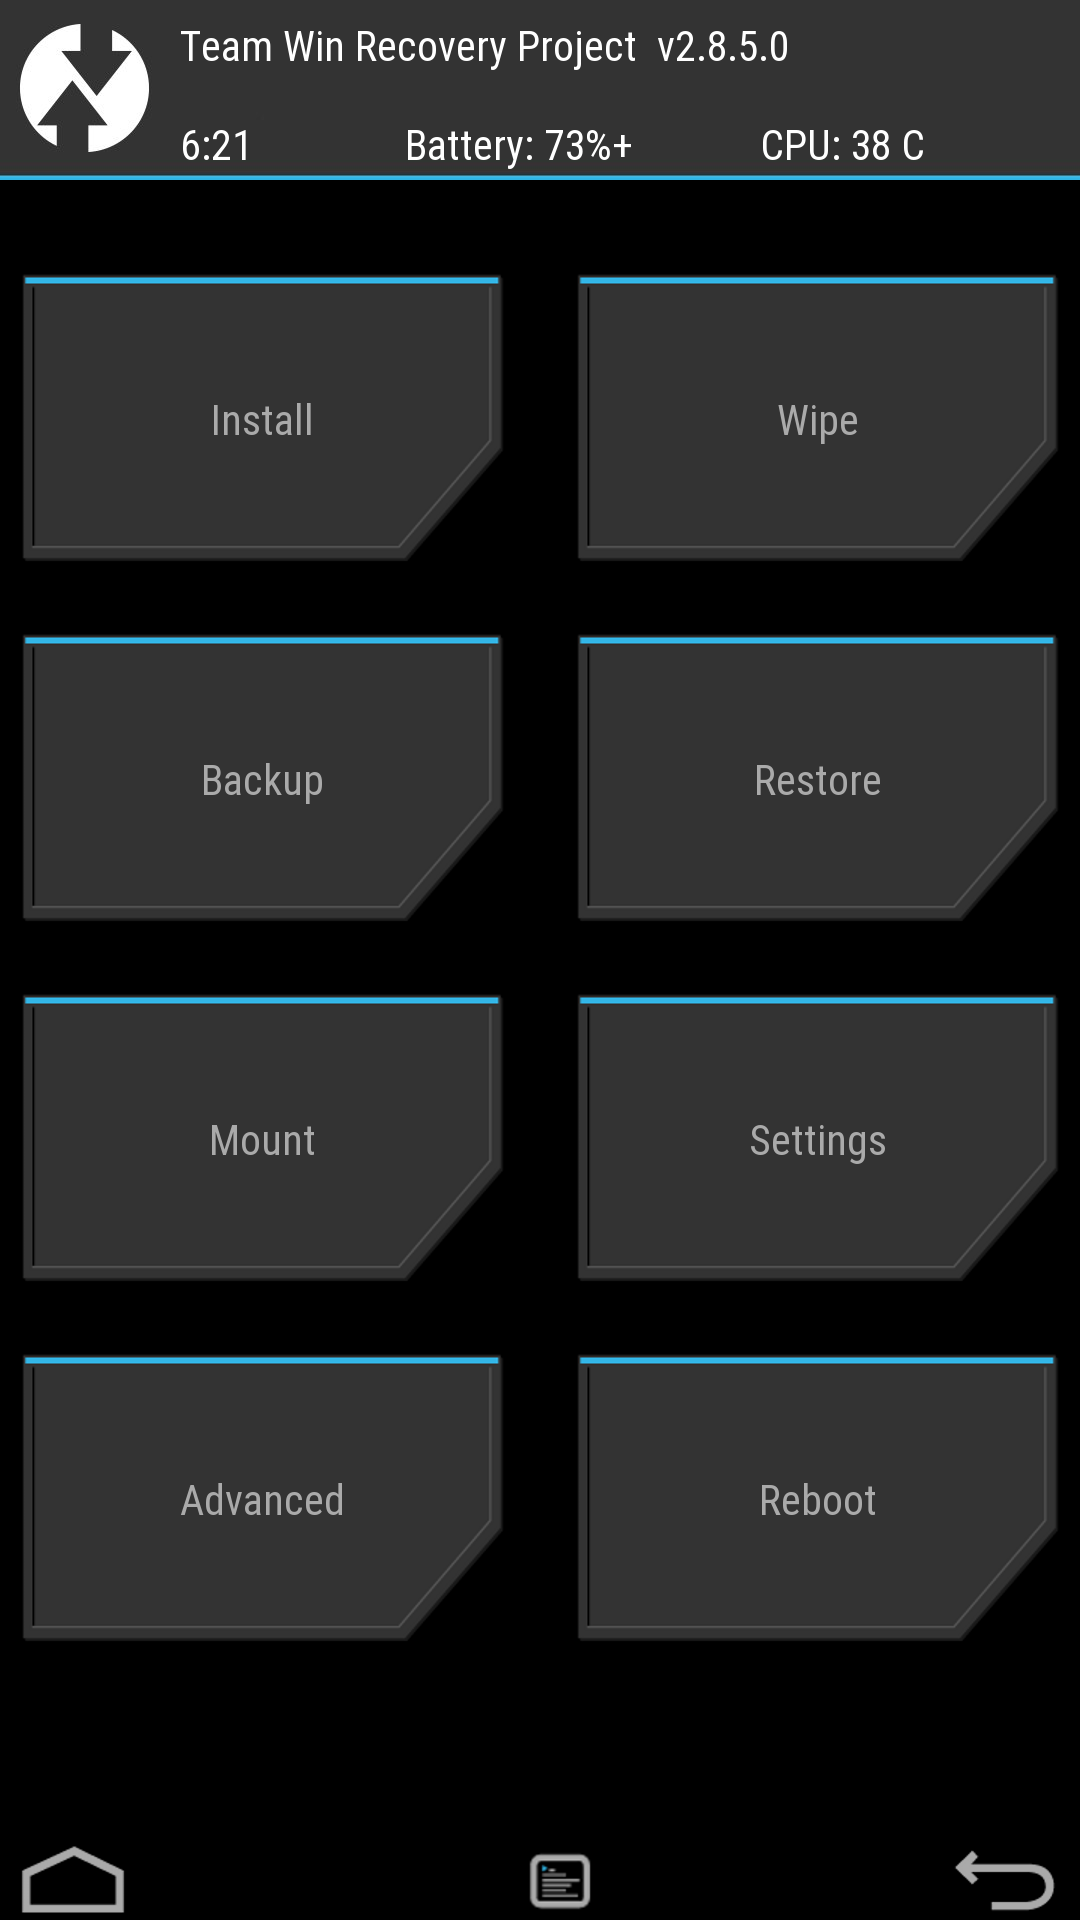
ビルドしたのはTWRP2.8.5.0です。
参考にしたページ
http://forum.xda-developers.com/lg-g2/development/twrp-twrp-2-8-0-0-kernel-f2fs-tools-t2898705
http://forum.xda-developers.com/showthread.php?t=1943625
http://docs.omnirom.org/Setting_Up_A_Compile_Environment
https://source.android.com/source/initializing.html
事前の準備環境は、すでに整っているのでパス。環境がない人はそれなりに準備が必要・・・
ここにLG-G2用のビルドの方法が簡単に書いてある
Welcome to blastagator’s tweaked LG G2 device git.
This git is based on the CM device tree. I tweaked it to build TWRP
recovery.To Build TWRP:
1) Initialize the OmniROM repo.
2) Sync the OmniROM repo.
3) Copy the blastagator_.xml and blastagator_g2-common.xml
to your omni/.repo/local_manifests folder.
4) Sync the OmniROM repo again.
5) Build recovery using full_-userdebug as the target.NOTE: Do not extract blobs or run setup-makefiles! This is not
necessary because the vendor tree is repo sync’d automatically.This uses AICP kernel that I patched to enable f2fs.
この流れに沿ってやってみました。
1) Initialize the OmniROM repo.
まずはomuniromのコード取得準備
$ mkdir -p ~/bin
$ mkdir -p ~/android/omni
$ curl http://commondatastorage.googleapis.com/git-repo-downloads/repo > ~/bin/repo
$ chmod a+x ~/bin/repo
$ echo “export PATH=~/bin:$PATH” >> ~/.bashrc
$ git config –global user.email “your@email.address”
$ git config –global user.name “Your Name”
$ cd ~/android/omni
$ repo init -u https://github.com/omnirom/android.git -b android-4.4
※android5.0のソースコードを取得する場合は、-b android-4.4をandroid-5.0にする。
今回はomniromをビルドするわけではないので、android-4.4でもOK
2) Sync the OmniROM repo.
ソースとPCをSyncさせる。
$ repo sync -j4 -f –no-clone-bundle
結構、時間かかります。
3) Copy the blastagator_.xml and blastagator_g2-common.xml
to your omni/.repo/local_manifests folder.
ここにあるblastagator氏のblastagator_l01f.xmlとblastagator_g2-common.xmlを
home/hoge/android/omuniの中の./repo/local_manifestsのホルダーにコピーします。
local_manifestsのフォルダーは存在しないので、作成しておきます。
4) Sync the OmniROM repo again.
再度、syncさせます。
5) Build recovery using full_-userdebug as the target.
リカバリをビルドするわけですが、ここの手順がわかりにくかったので
詳しく書いておきます。
まず home/hoge/android/omuni/butable/recovery/の中身を
最新のTWRP 2.8.5に入れ替えます。入れ替えないとTWRP 2.8.1が出来上がります
一度間違えて作ってしまいました(笑)

ソースはここから引っ張って来ます。
2/25 追記
local_manifestsの中のblastagator_g2-common.xmlを編集して
以下を書き加える。
<remote name=”TeamWin” fetch=”https://github.com/TeamWin/” />
<remove-project name=”android_bootable_recovery” path=”bootable/recovery” />
<project name=”TeamWin/Team-Win-Recovery-Project” path=”bootable/recovery” remote=”github” revision=”android-5.0″ />
home/hoge/android/omuni/device/lge/l01f/cm_101f.mkを編集します。
6行目をコメントアウト
#$(call inherit-product, vendor/cm/config/common_full_phone.mk)
コメントアウトしないと環境設定でエラーする。
ビルド環境を設定します。
$ source build/envsetup.sh
$ lunch
lunch full_l01f-userdebug
WARNING: device/lge/l01f/omni.dependencies file not found
============================================
PLATFORM_VERSION_CODENAME=REL
PLATFORM_VERSION=4.4.4
TARGET_PRODUCT=full_l01f
TARGET_BUILD_VARIANT=userdebug
TARGET_BUILD_TYPE=release
TARGET_BUILD_APPS=
TARGET_ARCH=arm
TARGET_ARCH_VARIANT=armv7-a-neon
TARGET_CPU_VARIANT=krait
HOST_ARCH=x86
HOST_OS=linux
HOST_OS_EXTRA=Linux-3.13.0-24-generic-x86_64-with-LinuxMint-17-qiana
HOST_BUILD_TYPE=release
BUILD_ID=KTU84P
OUT_DIR=/home/hoge/android/omni/out
============================================
ここでmakeします。
$ make -j4 recoveryimage
クロスコンパイルが始まります。
かれこれ2時間程度かかり終了すると
/home/hoge/android/omni/out/target/product/lge/l01f に
recovery.imgが出来上がるので、これをL01Fに書き込みます。